Purpose
Steps

- From the Output menu, select Stack List or click
 .
.
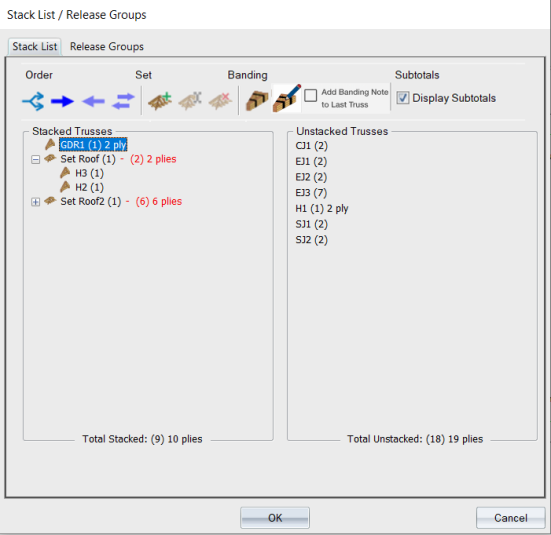
The Stack List dialog displays.
Note: In 2025.01, the Stack list and Release Groups dialogs were reorganized for a better user experience.
Designers can easily see their total quantity of assigned vs. unassigned trusses.
-
In sets, release groups and layers/levels, designers can see total quantities of collapsed lists.
-
This may prevent trusses from accidentally being left off of production lists.
When looking at quantity counts, some manufacturers focus on the truss quantity and some on the number of plies; displaying both quantities is useful.
-
Number of plies is the total individual fabrication units that a manufacturer will produce. (10) 1 ply + (3) 2 ply = (13) 16 plies.
If using release groups for production groups, having both truss quantity/plies and board footage helps identify when larger groups should be split into two groups or smaller groups should be combined.
- The Unstacked Trusses list shows all trusses in the elevation. This may include trusses that are not on the layout but have been added to the elevation in Director. At this point the Stacked Trusses list is blank until trusses are moved to that column.
-
If your screen scale is set to a value other than 100%, you may not see the entire Stack List toolbar accurately.
You can click one or more trusses and drag them to the desired column. You can also use the  arrows at the top of the dialog to move trusses.
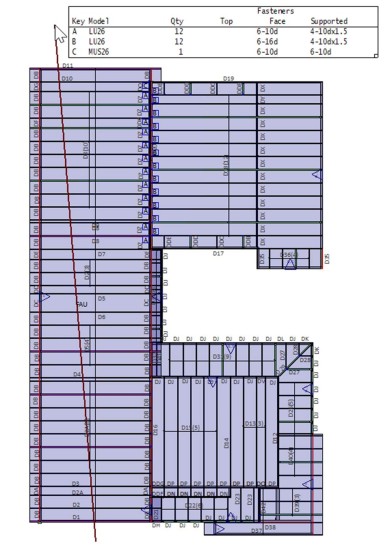
Another way to select trusses to include in the stack list is to click an individual truss in layout or drag a line across multiple trusses, while the Stack List is open. The trusses are automatically added to the list of Stacked Trusses.
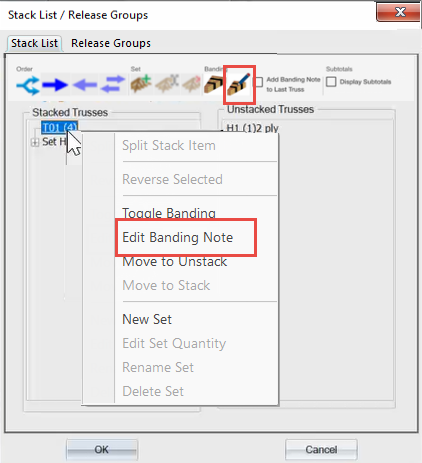
2. If desired, apply banding and create a banding note, which will appear in Director reports.
-
Right-click the banded item in the Stacked Trusses list or click the Edit Banding Note icon on the toolbar.
The right-click menu displays. Select Edit Banding Note.
-
Enter a label/note, and click OK.
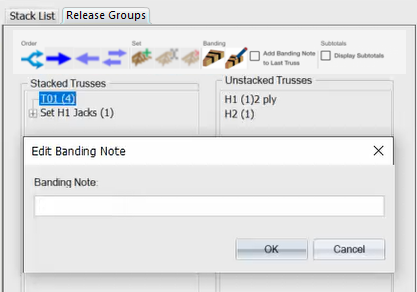
The information you enter displays on Director reports.
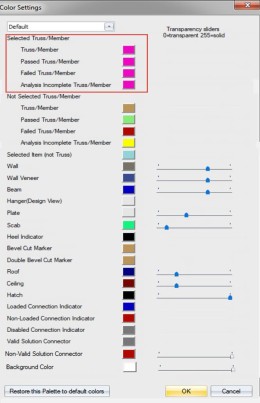
 Note: When the Stack List dialog is open, Truss Studio highlights trusses on the Layout that have already been moved to the Stacked Trusses list, using the Selected Truss/Member color specified in EnvData > Color Settings. Trusses return to their normal colors when the Stack List dialog is closed.
- Click OK to save changes.
Create Release Groups in Layout